

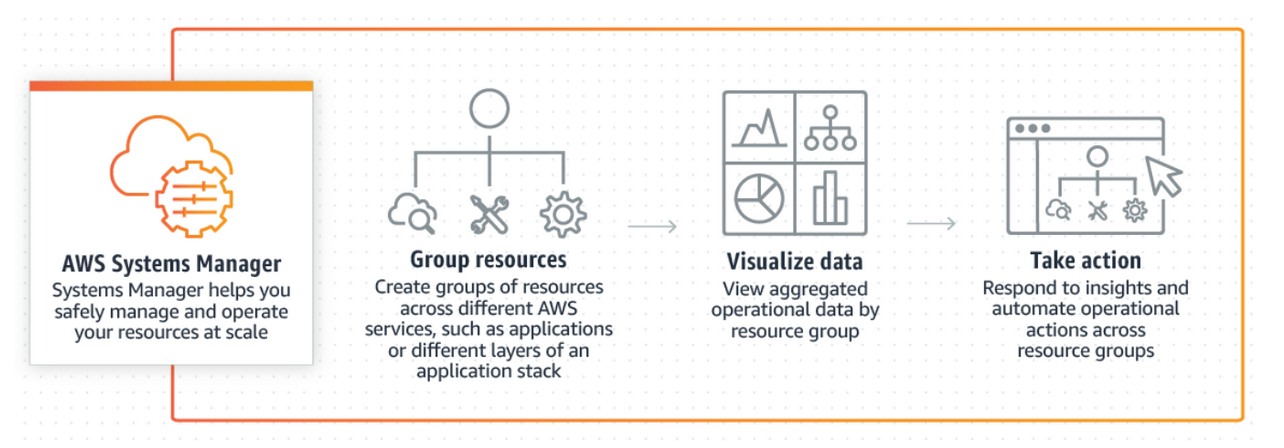
Today, we will be discussing AWS System Manager (or SSM for short).
From AWS website: “AWS Systems Manager is an operations hub for AWS, where you can automate operational tasks for Amazon EC2 or RDS instances; Systems Manager simplifies resource and application management and shortens the time for detection and resolve operational problems”.
For more details, see: https://aws.amazon.com/systems-manager
I was looking for a way to trigger an SSM document according to the output I get.
Sounds easy, right? Well, not so much…
The road was there but not really paved… I needed to find some of the correct syntax and understand how to trigger an ssm doc from another ssm doc, and in the process, find an underlying bug in the ssm mechanism. It is not fully fixed, but with the help of AWS Awesome Support, we were able to complete the task at hand.
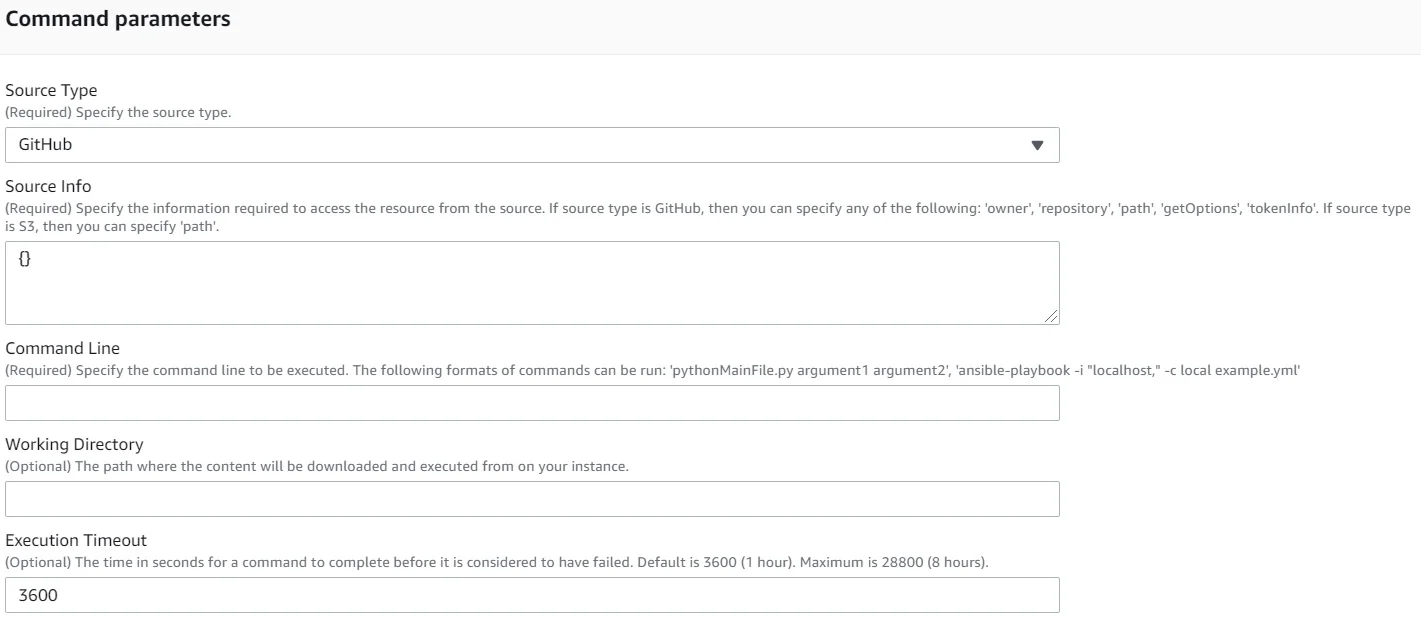
I started out with the basic SSM document by AWS: ‘AWS-RunRemoteScript’, which provides a GUI interface for running commands on a server (Linux or Windows).
What it essentially do, is to download & execute a script stored at a remote location, either from S3 bucket or from GitHub.
When running the ‘Run Command Document’ you need to manually provide some details: `Source Info` (Script Path), `Command Line` (the actual command to run), and some optional parameters like the `Working Directory` and the `Execution Timeout`.
At the next step you have to choose where do you want to apply it, resources wise:
you have three options available for you:
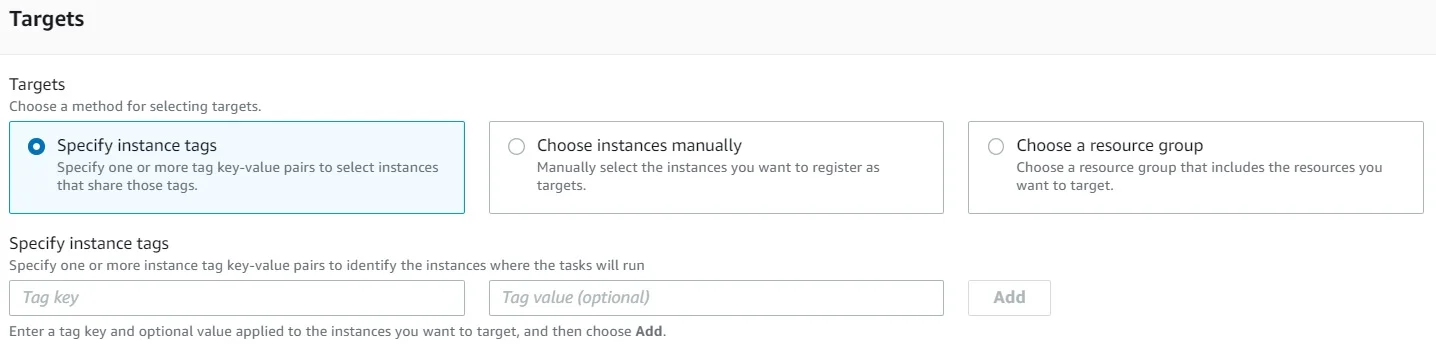
1.Using tags – all those instances that have the chosen tags will be triggered.
2. Insert manually the EC2 Instance Id.
3. Choose a resource group.
Since we live in ‘Automation land’, using manual labor is not our jam..
So, we need a way to provide the document with needed parameters and check if they are up to our standards – let’s hack and chop this SSM document!
Let’s be clear about our use case: what do we want to achieve?
‘ A user will provide an EC2 Instance Id, and will receive an instance with the needed Agent installed, according to its status’.
For the sake of this article we will call them `Agent_1` and `Agent_2`.
What it means for us as the creators of this automation is to understand if the provided EC2 Instance have the correct role attached to it (and any other tests that we deem necessary for our operation), then provide received data to the ‘first step’ of the main SSM document, where it will decide which step to go to: install Agent_1 or install Agent_2.
So, according to our use case, this is the SSM document flow we want to achieve:
Insert Input: Instance ID on our main SSM document > Run > Lambda is checking the Instance status > returns a response to the main SSM Document > according to the received payload > one of two external SSM documents is triggered.
If you would like to brush up on why and how to add an IAM Role to an EC2 instance you can go to: https://docs.aws.amazon.com/IAM/latest/UserGuide/id_roles_use_switch-role-ec2.html
But in short- By adding an IAM role to an EC2 Instance, you are granting the instance with specific permission which will allow the instance to assume permission from the role – this is helpful when you have many Instances that doesn’t require an IAM user key and secret to be rotated every once in a while, but a simple config addition to ~/.aws/config folder.
The second thing to remember is that, the Instance will be attached to an “Instance Profile” which is a connector between the Instance and to the IAM role. Surprisingly, they don’t always share the same naming convention, so in order to find the instance profile, you are required to do some Boto3 (or any other SDK) magic. bare in mind that only one instance profile can be applied onto an instance.
Let’s examine the main SSM document we got so far and look for hidden gems:
description: Agent-Install
schemaVersion: '0.3'
assumeRole: 'arn:aws:iam::<AWSAccoutId>:role/service-role/Role_for_lambda_and_ssm_operations'
outputs:
  - CheckForPrerequisite.InstanceStatus
parameters:
  InstanceId:
    default: i-123abc456def
    description: Where your Agents will be deployed
    type: String
mainSteps:
  - name: CheckForPrerequisite
    action: 'aws:invokeLambdaFunction'
    inputs:
      InvocationType: RequestResponse
      FunctionName: Check-For-Prerequisite
      Payload: '{"InstanceId": "{{InstanceId}}"}'
    timeoutSeconds: 120
    outputs:
      - Name: InstanceStatus
        Type: String
        Selector: $.Payload
    onFailure: Abort
  - name: WhichSteptoGoTo
    action: 'aws:branch'
    inputs:
      Choices:
        - NextStep: InstallAgent_1
          Not:
            Variable: '{{ CheckForPrerequisite.InstanceStatus }}'
            Contains: Applied
        - NextStep: InstallAgent_2
          Variable: '{{ CheckForPrerequisite.InstanceStatus }}'
          Contains: Applied
  - name: InstallAgent_1
    action: 'aws:runCommand'
    inputs:
      DocumentName: RunRemoteScript-Agent_1
      InstanceIds:
        - '{{ InstanceId }}'
  - name: InstallAgent_2
    action: 'aws:runCommand'
    inputs:
      DocumentName: RunRemoteScript-Agent_2
      InstanceIds:
        - '{{ InstanceId }}'
To transfer parameter to the Lambda function from the main SSM document use this syntax:
(Strangely enough, this is not mentioned on AWS documentation, I was breaking my head on finding a solution for a good hour..)
Mind the apostrophes location, they are super important!
The data you will get back from the lambda is portrayed by this section:
This is the other side of the variable – from the Lambda side:
The returned payload will contain either Applied or Not-Applied (In our case), which we will use in the SSM document condition to decide which external SSM document to trigger as the final stage. (Off course, you can use any parameter as you see fit)
In order for us to dynamically choose which SSM document to trigger, we will use the `aws:branch` action, Where there are 2 options:
either the Variable `CheckForPrerequisite.InstanceStatus` does not contains the word ‘Applied’, or it does.
action: 'aws:branch'
    inputs:
      Choices:
        - NextStep: InstallAgent_1
          Not:
            Variable: '{{ CheckForPrerequisite.InstanceStatus }}'
            Contains: Applied
        - NextStep: InstallAgent_2
          Variable: '{{ CheckForPrerequisite.InstanceStatus }}'
          Contains: Applied
The last part of the puzzle is accessing the remote location where the installation files resides.
The info can be found in the external SSM document that is being triggered (As previously mentioned, you can look up “AWS-RunRemoteScript” on the SSM documents section).
This is actually a major breakthrough that allows the solution to be usable:
Initially I used, as per AWS documentation :
sourceInfo:
   description: "(Required) Specify 'path'."
   type: "StringMap"
   displayType: "textarea"
   default:
{“path”:”https://s3.amazonaws.com/bucketnam
e/folder/"}
OR
sourceInfo:
    description: "(Required) Specify 'path'."
    type: "StringMap"
    displayType: "textarea"
    path:
      - {“https://s3.amazonaws.com/bucketname/folder/”}
But alas, I was presented with this error:
invalid format in plugin properties map[destinationPath:/tmp/ sourceInfo:map[path:https://s3.amazonaws.com/bucketname/folder/deploy.sh] sourceType:]; error json: cannot unmarshal object into Go struct field DownloadContentPlugin.sourceInfo of type string.
To make things even more peculiar, the SSM Document with the regular configuration (type:StringMap, and the default path {“S3 location”}) works like a charm when running as a standalone SSM document, but not as a triggered SSM document.
After some debugging and deliberation with AWS support, it became clear that there was an underlying bug that caused this response to occur.
No worries, happy days upon us, The correct syntax was found:
Once again pay attention to the apostrophes, (It can save your life one day!).
sourceInfo:
  description: "(Required) Specify 'path'."
  type: "String"
  displayType: "textarea"
  default: '{"path":"https://s3.amazonaws.com/bucketname/folder/"}'
So, to summarize this article:
it is possible and is actually quite welcomed to play around and create your own SSM document and new workflows that exceeds the usability of the basic SSM documents provided by AWS, even though you might need to break some things in the process.
Happy Building!
